Description
Analog Clock Widget plugin allows you to create an unlimited number of different analog clocks. The plugin based on SVG Raphaël – JavaScript Library.
Installation
Install the plugin just like any other WordPress plugin. There are two ways to do that:
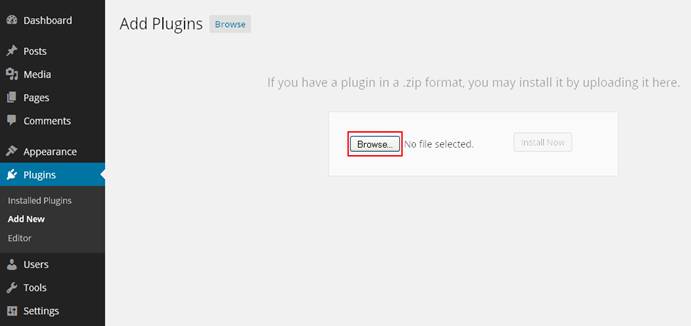
1. Using WordPress built-in installer From the Administration Panels, click on the Plugins tab. Go to Add New->Upload Plugin. Choose the plugin’s .zip file from your computer and click Install Now. Then click activate to activate the plugin.
2. Traditional manual installation
Upload analog-clock-widget folder to your server in the wp-content/plugins folder of your WordPress installation. Access the Plugin Panel in your Administration Panels. Scroll down through the list of Plugins to find the newly installed Plugin. Click on the Activate link to turn the Plugin on.
Usage
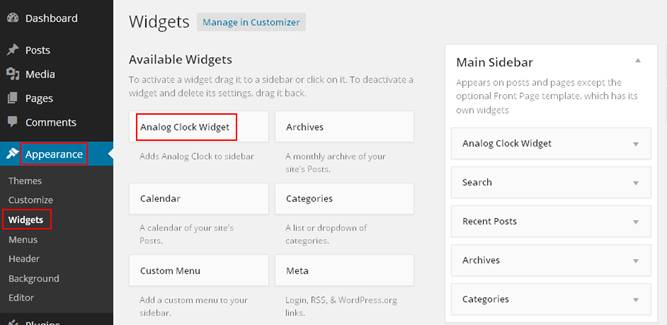
Go to Appearance -> Widgets, find Analog Clock Widget from Available Widgets list, and drag the widget to a sidebar you’d like it to appear in. The Analog Clock Widget should now display in your sidebar.
Widgets Options
Once you drag the widget to the sidebar, please open the widget to see the options. Plugin options allow you to set any time zone, change size and colors of clocks.
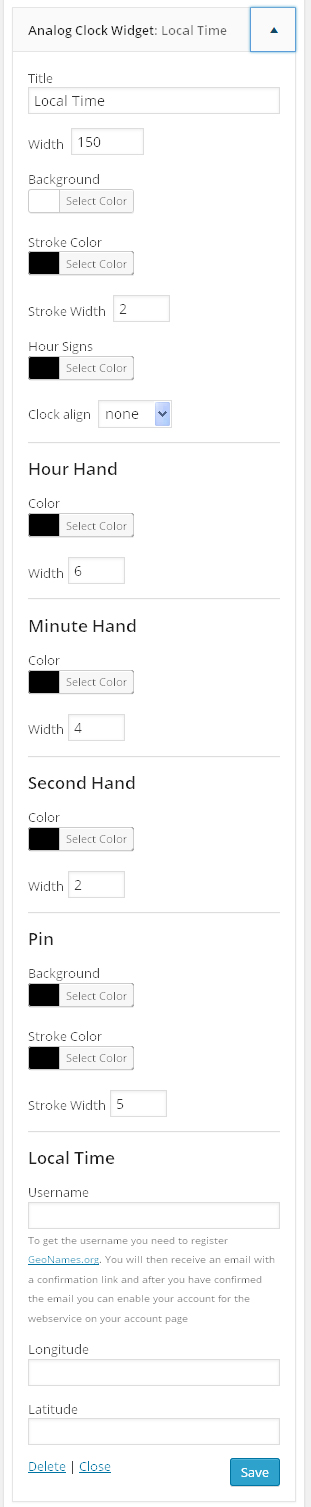
To be able to add any time zone, you need to have a username in geonames.org. To get the username please register http://www.geonames.org. If username, longitude and latitude fields are empty, the clock will show user PC’s time. Add the user name in “username” field in widget admin panel and add Longitude/ Latitude of the location, click on save button.
Deleting Widget
Go to Appearance -> Widgets, find Analog Clock Widget from sidebar, open it and remove the Widget by clicking on Remove or Delete.